Atmospheric Perspective
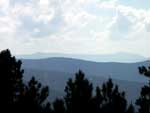
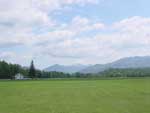
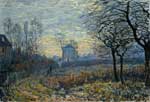
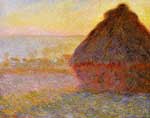
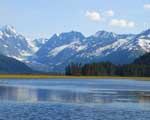
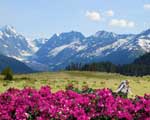
Atmospheric perspective, or Aerial perspective, refers to the effect that the atmosphere has on the appearance of an object as it is viewed from a distance. Moisture, dust and pollutants, as well as the air itself, filter the visual information before it reaches us.
Assignment
Create a landscape painting, showing atmospheric perspective.
Paint... on Bristol board... at least 8"x10"
Look at landscape photos as references. Go outside and observe a real landscape.
You can work from a single photograph that shows atmospheric perspective. You can also put together different photo images in order to improve foreground, middle areas and background…use them as a reference for a landscape painting which shows the changes caused by atmospheric perspective.
Homework: Deep Space Photomontage
Make a photomontage, at least 8"x10", that uses atmospheric perspective to give a convincing illusion of deep space (from several feet to several miles). At least three different photos must be used: one for the foreground, one for the middle ground and one for the background.
For the foreground look for a large sharply focused picture of an object or objects with bright, warm colors. For the background, look for a large photograph that shows deep space and has cool colors in the distance. The middle ground must fit somewhere in between the foreground and background in space.
Choose the pictures to use for each of the three depths with size in mind. Remember that objects appear to get smaller the farther away they are
Every photograph has a horizon line that represents the level of the camera that took the picture. The horizon lines for all of the picture parts in your photomontage must be on the same line.
You may use you own photos, magazine photos (might be tough to find large-enough images) or use online photos (800 x 600 pixels or larger).
You may printout the images in color on "Photo" paper and then cut them out with an x-acto knife and gluestick them onto a piece of Bristol board...
or you may "cutout" the images in Photoshop, etc. and paste them together in Photoshop as well... then printout the image in color on "Photo" paper and gluestick it onto a piece of Bristol board.
No matter whether you use an x-acto knife or Photoshop, cut out the three layers carefully (you may use more layers) and stack them to see if they give a convincing illusion... get the horizon line right.
The finished product should look like a single photograph that shows a scene that starts close to the observer and goes for miles into the distance.
Include your three (or more) original source images!
(Magazine photos? Scan or photograph them to turn them in.)
Background Middle ground Foreground Combined images

