SUNY Cobleskill Homepage

Introduction

Supplies

Markmaking

Components of Art

Line

Composition

Shape

Figure/Ground

Texture

Value

Space

Perspective

More Perspective

Still More

The end of Perspective

Color ~ Hues

Color ~ CMYK

Color ~ HVS

Atmospheric Perspective

Color Schemes

Color Interaction

Repetition

Typography

Gestalt

3-Point Linear Perspective


There are three kinds of lines used in three-point perspective...

  1. Edges of surfaces that recede into the distance toward the right are on lines converging at the right vanishing point.
  2. Edges of surfaces that recede into the distance toward the left are on lines converging at the left vanishing point.
  3. And, different than one and two-point perspective, lines that are actually vertical on the real object, appear to converge at a point located either above or below the viewer... depending upon whether the viewer is looking upward or downward.


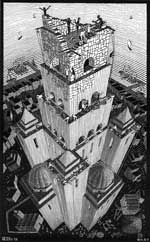
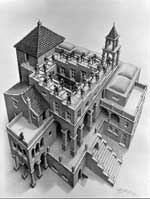
M.C. Escher

M.C. Escher


Worm's Eye and Bird's Eye Views

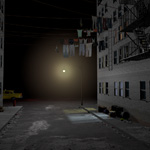
This is the "normal" view of the scene... eye level is approximately 5' above the ground.
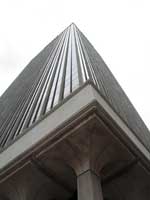
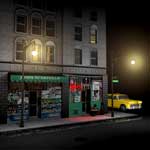
When the horizon is near the bottom of the image, the result is usually a worm's eye view of the scene. In this view, eye level is approximately six inches above the ground.
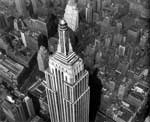
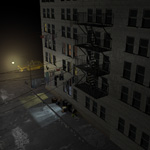
When the horizon is near the top of the image, the result is usually a bird's eye view of the scene. In this view, eye level is approximately fifty feet above the ground.
   
Another "normal" view
Another worm's eye view
And, another bird's eye view


Drawing a 3 pt perspective image

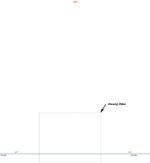
Draw a horizon line


Locate RVP and LVP on the right and left ends of the horizon line (Preferably, even beyond the edge of the paper)
Locate a vertical vanishing point (VVP) above the top/center of the image (Preferably beyond the paper's top edge)
Draw nearest "vertical" edge (not necessarily drawn vertically) of the “box,” toward VVP
Draw bottom edges of the same box, receding to LVP and RVP
Draw left and right "vertical" edges of box from bottom edges to VVP
Connect the top of the box on the frontmost “vertical” edge line to the LVP and RVP... construct additional buildings in a similar manner


Assignments

Assume your eyes are 5' above the ground for all assignments and tests in this course, unless otherwise specified. LIGHTLY draw all lines in pencil, then ink the horizon and objects... leave the guidelines in pencil.


1. Draw a building in 3 pt perspective, using the directions above. Include realistically sized door(s) and windows.

2. Take your camera outside and photograph some examples of 3 pt perspective in your surroundings. Take some bird's eye and worm's eye shots. Back “home” review your images and select the “best” four to six images. Print them out and format them. Glue them into your sketch book. Title the images “3 Point Perspective” plus anything else you might want to add to the title.