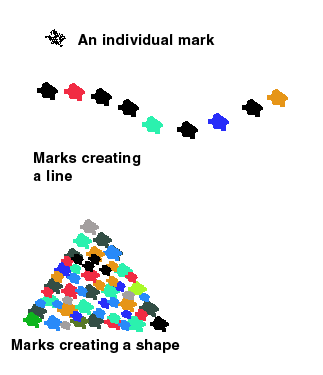
Markmaking
Markmaking is the use of a brush, pencil, or any other tool to create patterns, lines, textures, etc.
Marks can be descriptive, expressive, conceptual, and symbolic in nature.
The same mark can change color, etc. throughout a composition… or it can remain localized.
By choosing different tools, media, gestures, etc., the artist can change the nature of the mark.
The mark making methods we choose creates a major portion of our personal “style.”

Mark making examples
| Marks can be obvious: | |
 |
 |
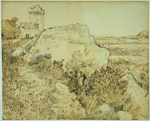
| Vincent van Gogh | |
 |
 |
| Roy Lichtenstein | |
 |
 |
| Jasper Johns | Edvard Munch |
 |
t.jpg) |
| Chuck Close | |
| Marks can be subtle: | |
 |
|
| Lyle Ashton Harris | |
 |
 |
| Charles DeMuth | Piet Mobdrian |
 |
 |
| Allen Cosgrove | |
| Design can be done without apparent marks: | ||
 |
 |
 |
Traditional Mark-Making Tools
- Pen and Ink
- Pastel
- Pencils
- Spray paint
- Watercolor pencils
- Oils
- Charcoal
- Acrylic
- Conte´ crayons
- Watercolor
- Markers
- Colored Pencils
- Crayons
- Oil Pastel
Less Traditional Mark-Making Tools
In Class Assignment
Draw 20 2” squares on at least one sheet of Bristol board. (In otherwords, draw 20 squares... and if you want to, draw more than 20 squares.)
In the first square, make multiples of one mark. 
In the second square, makes multiples of one different mark. 
3rd square, Etc. 
Use only one mark type, one tool and one medium per square; use many different tools throughout this project... but only one per square.
Try out different tools, various liquid and non-liquid media, and gestures... share tools/media.
Vary your speed, pressure, the angle of the tool.
How light a mark can you make? How bold and daring?
Draw loopy marks, ziz-zags, light short lines, heavy short lines. Make some marks and then drag your eraser across them. Which pencils erase well? Which smudge? Do they make an impression on the paper? How glossy is the graphite?
Try making your own tools-- sticks/twigs, pieces of a comb, carved erasers. Dip them in India ink or paint.
Make sure your work is dry. Cut out the ten most successful of these 20 squares and glue them in your sketchbook. If you did more than 20 squares, cut and paste a proportional number in your book. Label the page Markmaking. Hand letter your labels neatly, or print them with a computer and cut them to size. You can be creative with your labels... just make sure they're legible.
Grading:
B:
Wide range of tools and media explored. Exercises done with care and Sketchbook effectively illustrates good range of experimentation. Student demonstrates possibilities of mark-making
A:
Exceeds expectations of assignment. High level of creativity and/or technical achievement. Boundary breaking.
Homework for next class
The next class will be about the art element Line. When you look at the following links, observe the lines and their thickness, thinness, softness, etc.
Click on the following thumbnails and links:
|
||||
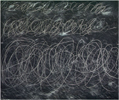
| Cy twombly used scribbly lines to create an illusion of depth: |  |
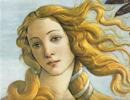
Botticelli closeup: |  |
|
| Albrecht Durer: |  |
Paul Rand: |  |
|
Quickly shown examples of Keith Haring's work on YouTube
|
Jackson Pollack creating a "drip" painting. | |||
.
